Select your category
In case you dislodged the X-arm and it is no longer going up or down along the Z pole, scroll down.
For other questions not related to the 4 categories below,
please scroll down and check if your question is answered there or contact us.
 When you are ready to purchase a LUTUM® 3d Clay printer there are several ways to proceed.
- You can first contact us by email to get a formal quote or more information.
Educational institutes can reply with a signed quote or an official PO to finalize the order. - All other customers need to confirm their order with the payment of the invoice.
Payment can be made after ordering the selected goods from our webstore or via a bank transfer after receiving our invoice.
Air compressor
A LUTUM® system is almost complete, this means we do not supply all the necessary parts to start printing as
you still need an air compressor.
The air compressor needs to have a minimum of 8bar compression and a storage volume of 9 liter.
You do not need a compressor with high volume air displacement. Normally you would not actually use the compressed air.
You are only using the force of the pressure. The compressed air has to be dry.
The printer has an Orion air connector installed.
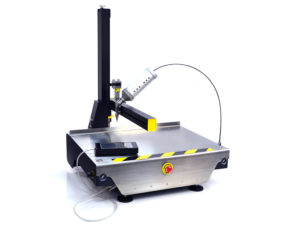
A LUTUM® printer + Air compresser is a complete system.
Recommended accessories
To make your printing easier we recommend to supplement your purchase with the Pugmill Adapter in case you own a pugmill.
Should you not have a pugmill, it is a valued machine which can repurpose used clay and with the cartridge adapter quickly fill the empty PET tubes to be able to print.
When you are planning to do lots of production printing you may want to include some extra PET cartridges.
Pottery Studio
When starting with clay you are basically setting up a modern pottery studio. Apart from the pugmill, the air compressor and the LUTUM® printer, you will also need a Kiln of the correct size, a place to safely dry your prints, plaster slabs to print on and possibly some place to postprocess your prints or an area to glaze the objects.
All in all a large investment when you do not already own or have access to a ceramics studio.
Nonetheless we still hope you will join the growing group of digital ceramists and become a clay printing master.
You bought a new LUTUM clay printer?
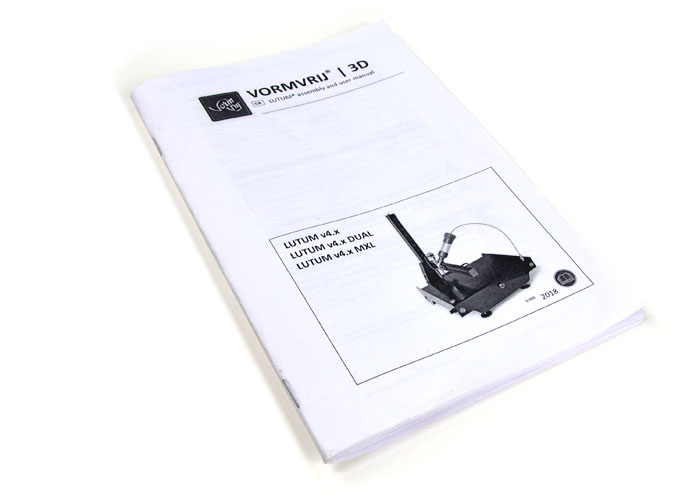
Many first answers can be found in the assembly manual provided along with your printer.
In this section you can find print presets for Prusa slicer, recommended slicing software and links to relevant designs programs and usefull apps.
You can also download a selection of print files to test your machine.
We always try to give you the best possible product. Unfortunately there is still a chance something brakes or malfunctions.
If it does we are sorry to hear it and hope we can provide a quick solution.
Our machines are built for easy access and repairs and with the guidelines in this section we hope you can solve your issue fast.
If you are unsure the solutions provided can solve your issue please do not hesitate to contact us.
There are many software related questions. These are put in the following three categories:
a. How do I design
b. Which CAD software can I use
c. How do I send my design to the printer

Our printers are developed with the widest possible range of clay types in mind. Not all work as well or as easy. But eventually most clay type can be printed with perfect results. In this section we outline the basic material constrains and give a few pointers on how best to prepare clay for your specific projects.
Most other questions…
There are some questions we receive very often.
We have placed them here, sometimes accompanied by a direct link into the tree structure of the 4 sections above and sometimes with a link to a Blog Article our online store or a third party website.
If you have any other questions or remarks please do not hesitate to contact us.
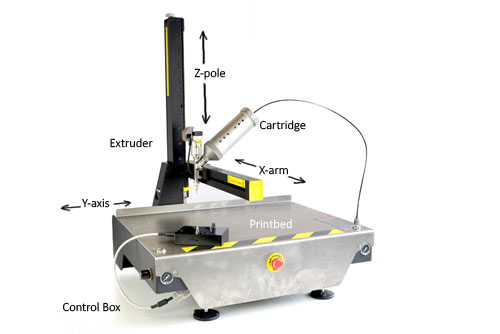
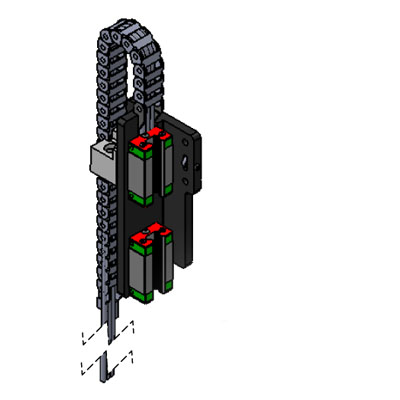
While this is not normal, it does happen from time time. Stay calm and check if the aluminium wheel on top of the Z pole is rotating when you give the printer the command to move the Z-axis.
If it does, the built-in safety worked and dislodged the X-axis from the Z-axis to minimize internal mechanical damage.
The solution can be found by following the link below.
In the unlikely event the wheel on top of the Z-pole does not rotate while you hear the Z motor run after you gave the move-Z command the solution is a bit more complicated and you will need to order a replacement Z belt. Please contact us for further instructions.
You are not supposed to pull the X-arm up at any time, if something goes wrong you should hit the Emergency Stop button.
For now, Stay calm you did not brake anything.
You engaged the built-in safety and dislodged the X-axis from the Z-axis to minimize internal mechanical damage in case of a software failure and the Z moves below the physical print surface.
The solution can be found by following the link below.
There are two options.
a. Remove any caps from the clay in- and outlet and Soak the barrel part (3) of the extruder in water for a several hours, and proceed as usual. Make sure the motor does not come in contact with water.
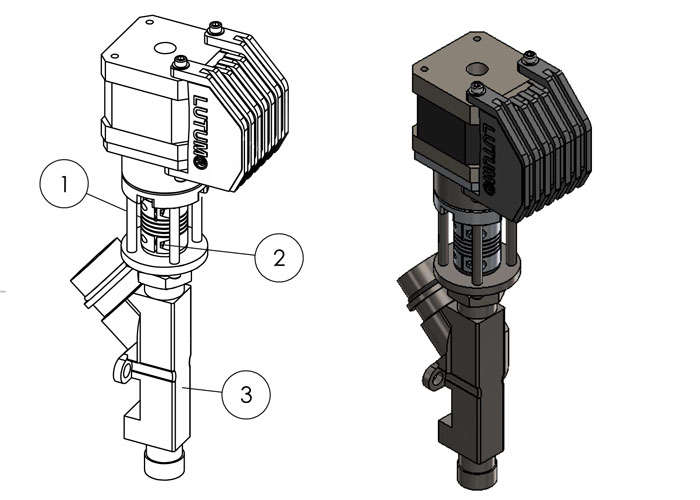
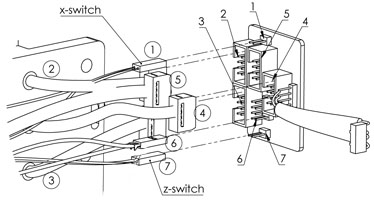
b. Unscrew the lower two small screws in the flexi-coupler under the extruder motor. First the small one (1) to unlock the Auger and then the big one (2) to free the Auger-screw from the flexi-coupler. Then proceed disassembly as usual. After separating the motor assembly from the barrel soak the barrel in warm water. After 30 minutes gently wiggle/rotate and pull the Auger with plyers from the barrel, make sure you do not bend the auger.
Clean all parts.