Description
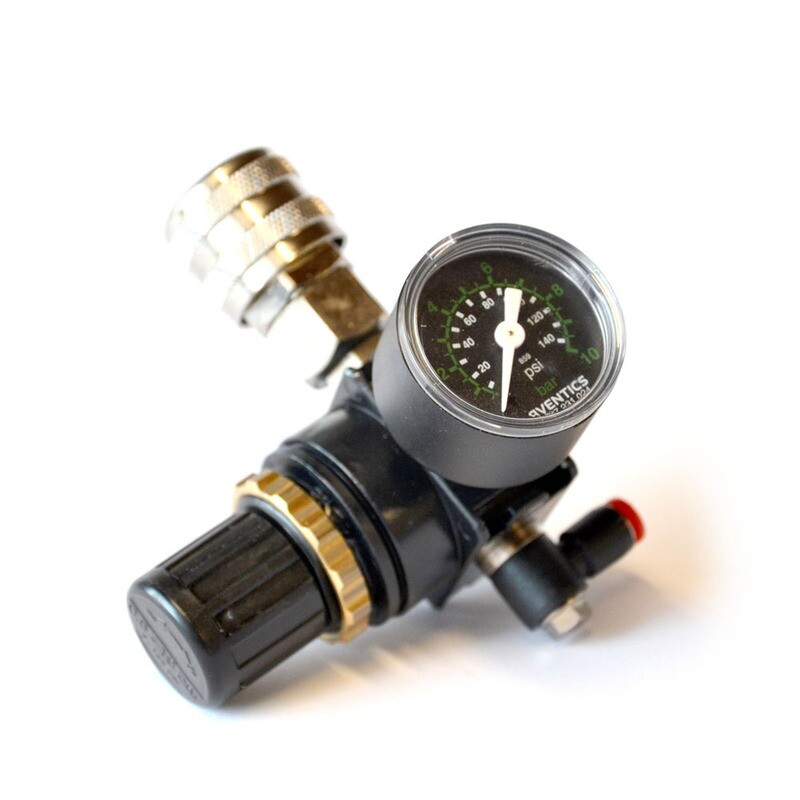
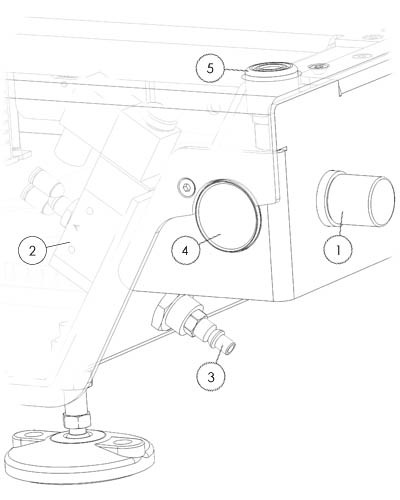
The printer has two air pressure regulators on each side, they are operated by rotating the knob [1] clockwise to increase pressure, reverse to decrease.
You can push the knob to lock it in position.
Pull to be able to adjust the pressure.
The manometer [4]will display the current pressure you supply to the cartridge.
However, the air supplied to the printer [3]needs to be of good quality and dehumidified. The maximum supply pressure is 6 bar. Any higher and the safety valve [2] will engage and start to release air.
It is good practice to release the air pressure when the printer is offline. Newer v4.3 and up printers have an automatic pressure release valve[2]. Keep in mind that not using the valve will age the rubber inside faster. to keep the valve on working order open and close the valve at least once a week. Do not lock the valve in minimum or maximum position this can block the internal mechanism and damage when left in this position.
If the supply air is moist, the valves can corrode and get stuck. You will need to replace the air regulator if that happens.
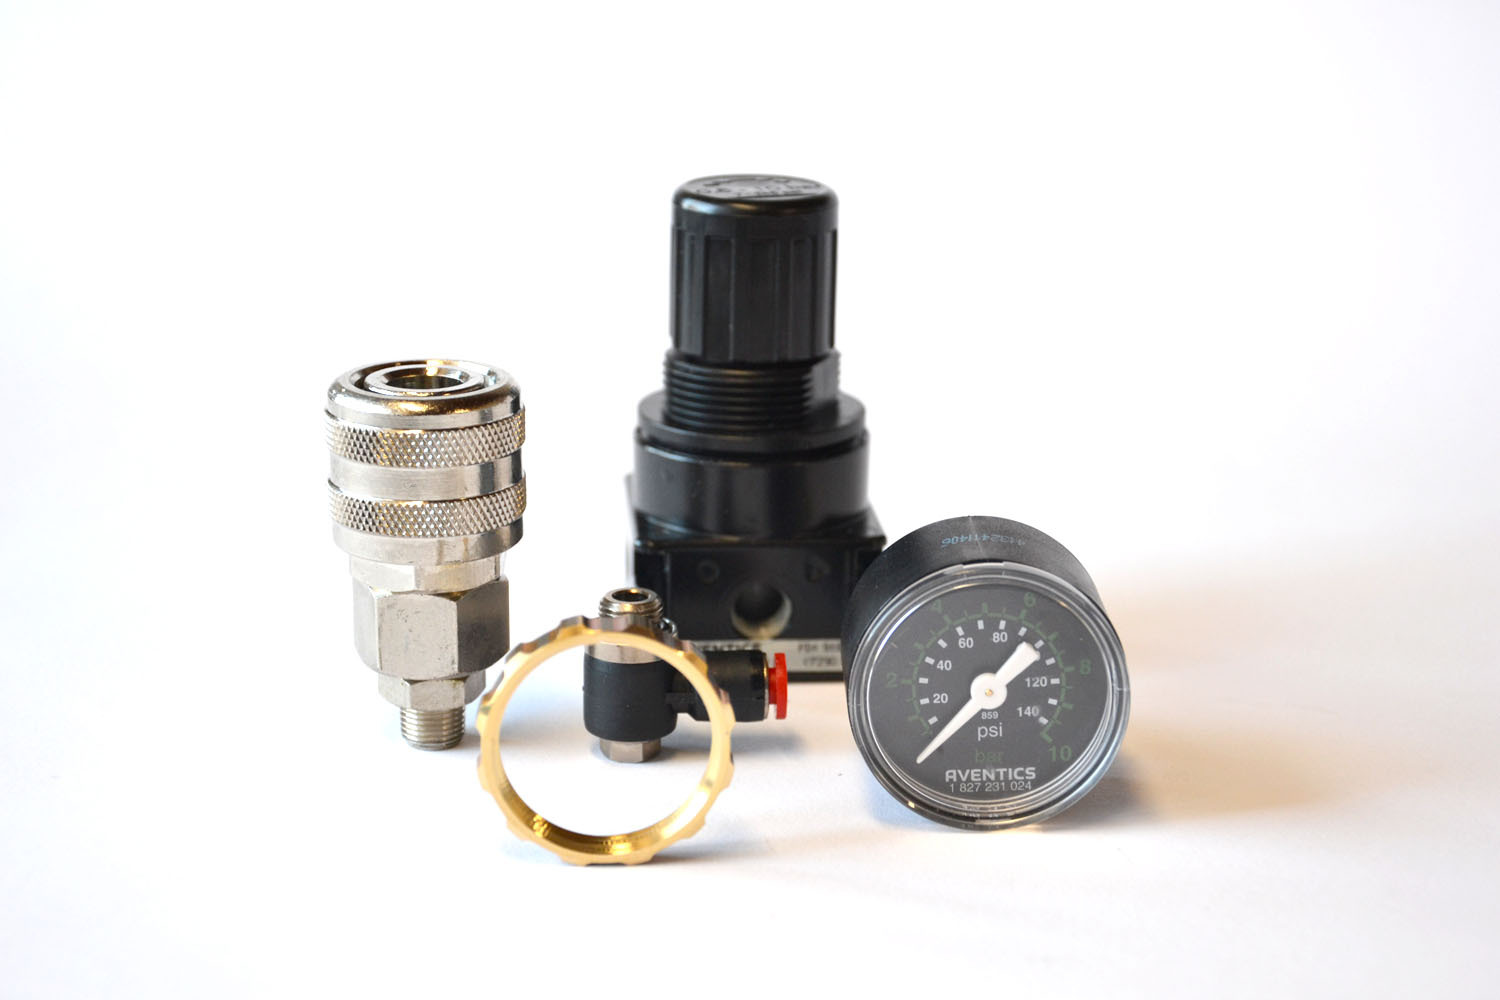
You can remove the regulator following the below steps, the part can be reached from below:
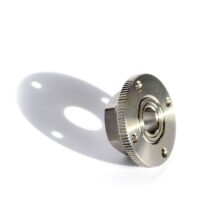
- remove the manometer with a 14 spanner
- remove the top air coupler with a 14 spanner
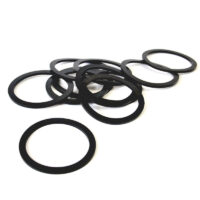
- remove the brass ring with a set of large plyers
- disconnecting the 4mm air tube
- You can now take the regulator from the housing
- remove the final air tube connector with a 10 spanner
follow the above steps in reverse to install the new regulator.
Make sure you connect the regulator in the correct orientation for each side of the printer. Note that the directional arrow marks on the regulator follow the flow of air.
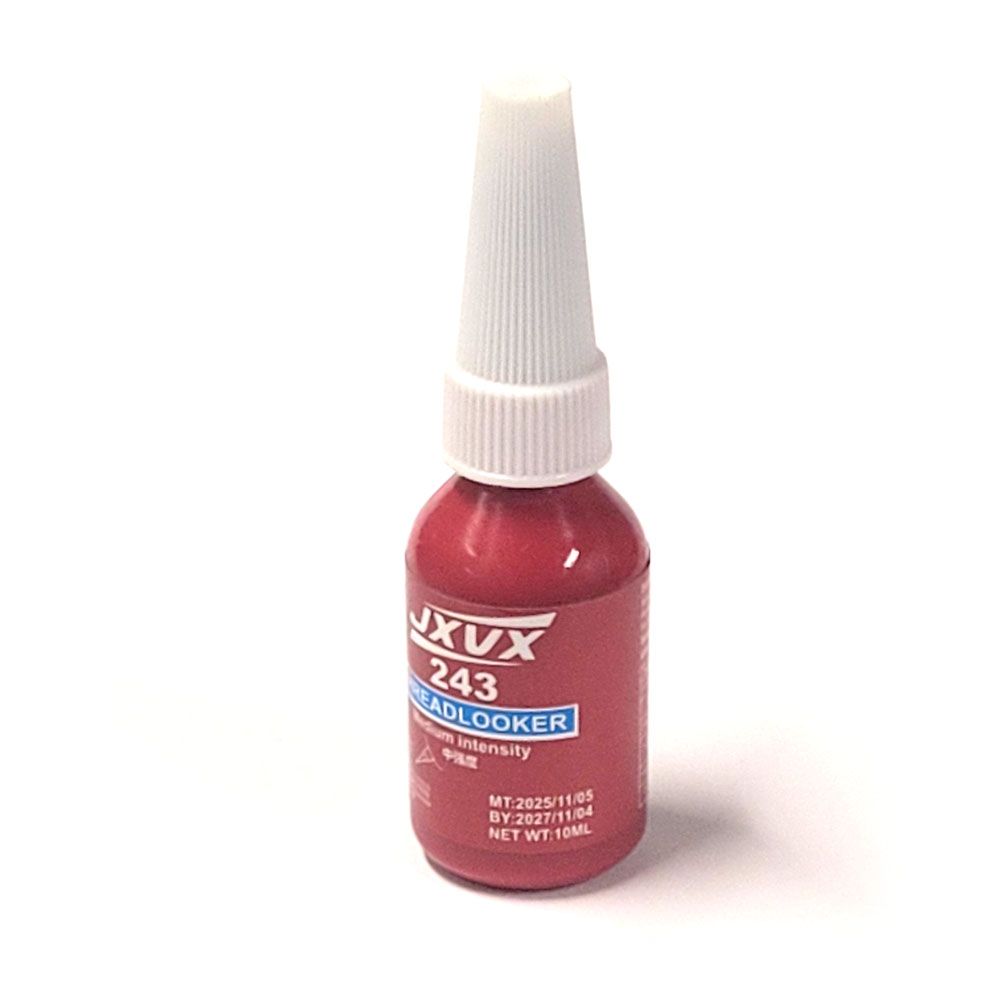
Always apply a drop of thread lock to any thread before you assemble your replacement.